Are you an aspiring photographer trying to get your start in nature? The scenic Adirondack parks are the perfect backdrop to practice! Whether you’re shooting a picture of your best friend climbing a tree, a gracefully flying bird, or a simple flower, here are some professional tips for beginners.

Don’t Be Afraid to Use Your Phone
Phone cameras do a great job of capturing images! You can use burst mode to catch an object in motion, portrait mode to have a more clear- cut and focused image, or a built-in zoom lens to photograph dangerous subjects. And after you’ve taken hundreds of pictures, you don’t have to worry about storing them because they go straight to your camera roll. Once you pick the perfect photo, you can then edit it on a free app such as Snapseed or VSCO.
Plan Ahead
Always plan what time of day your shooting, pack all the equipment you may need, know the weather conditions you’re looking for in your photos, and the potential subject of your photos. Being prepared helps you make the most of your time and get the best quality pictures. You should know ahead of time if there’s an abnormal weather condition, so you can plan accordingly. Although a picture of a lightning bolt may be extraordinary, it may not be safe.
Compose A Scene
Each image is a work of art that has its own story to tell, which is why the photographer’s vision is so important. If a picture doesn’t speak to you, don’t use it. If you don’t understand what’s going on in the picture, don’t use it. Try to convey a certain feeling in the photo, whether that be ominous on a dark and gloomy day, or radiantly positive on a bright and sunny day.
Utilize Golden Hours
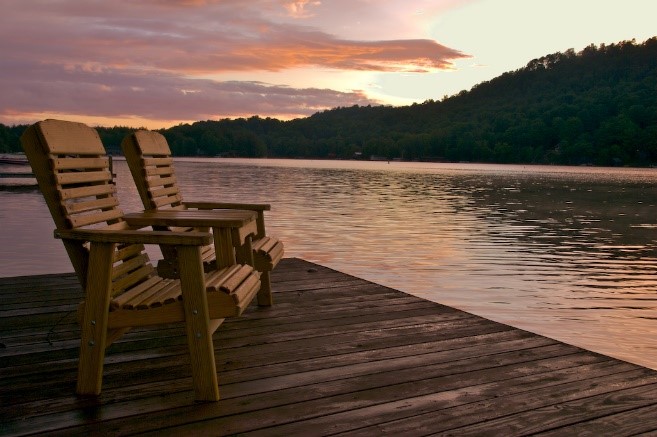
Golden hour is typically the first hour of light in the morning after the sun rises and the last hour of light in the evening before the sunsets. This is the time of the most appealing light for young photographers and tends to add excellent warmth to pictures. If you’re looking for beautiful, warm pictures of the sky, try capturing a sunrise or sunset on a summers’ day!
Utilize Camera Placement in Lighting

Try to take photos in a spot with even light shining on the subject. To achieve this, a photographer can shoot on a more overcast day or in a shady spot while adjusting the exposure. Exposure refers to the amount of light the camera captures, with regards to aperture, shutter speed, and luminosity. Exposure is brighter when in the natural sunlight outdoors, so it’s important to adjust your camera’s settings accordingly. If photographing a person with a natural background, the exposure can be used to brighten the face or distinguish any dark spots.
Rule of Thirds
This rule states that while using a grid, an image can be divided into equal thirds. Rather than placing the subject of the image in the dead center of the three middle boxes, the photographer should instead keep the subject at one intersection of a horizontal and vertical line. This maintains the intrigue by adding angles that include a sense of perspective and depth to the image.
Include Leading Lines
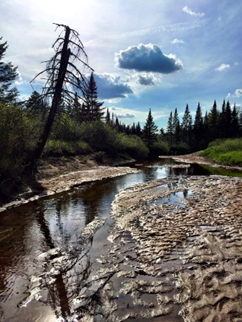
Leading lines are a very important element of photography in that they make the image visually appealing to the audience, take hold or focus attention on the subject, and provide symmetrical paths for the viewer to easily follow. You can utilize leading lines in your pictures by featuring lines such as railroad tracks, streams, rivers, or bridges.
Pick the Right Background

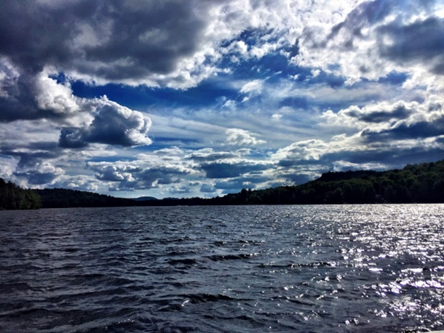
The background of a photo could make or break the viewers’ connection, feeling, or perception of the subject image. For an eye-catching backdrop, consider using the sky, grass, or a body of water. If you’re trying to catch the perfect image of a squirrel sitting on a tree branch, don’t be afraid to use the leaves as a background! Just stay clear of any distracting objects such as telephone wires, garbage, or animals that sneak their way into the frame.
Know When to Get Up Close and Personal
Depending on the image you’re photographing, you may want to skip the zoom lens and walk right up to the subject. However, if you are capturing a picture of an animal or an otherwise dangerous situation, then use caution. Most animals may be skittish and try to flee when they see you approach. Others can be dangerous to be near, such as bears, mountain lions or wolves. Always understand the type of environment that you are shooting in and don’t bait the animals! If something cannot happen in the animal’s natural environment, then make it happen with Photoshop, rather than in real life.
Take Multiples
Capture lots of pictures to ensure that you have at least five good ones to choose from. Your favorite photo may be one that has an object that wasn’t originally your intended subject. Have patience, take your time, and don’t be discouraged if something happens that wasn’t a part of the plan. Many of the best images have occurred with improvisational thought rather than a solid plan.
If you’re hoping to find an outdoor environment to shoot some nature photos, the Adirondacks are a perfect place to do so! Between hiking trails, lakes, mountains, and campgrounds, Old Forge has got you covered. We hope to see beautiful images from our parks and wish you the best luck!